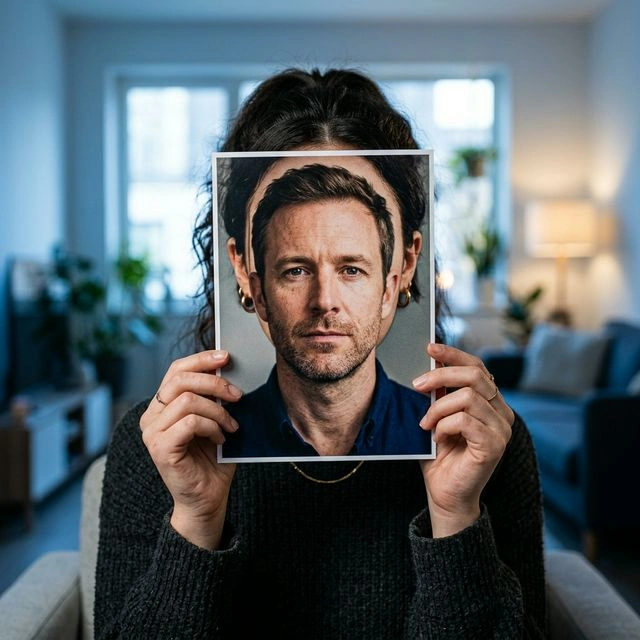
If you are wondering how to swap faces in Photoshop, the short answer is: yes, Photoshop can do it, and it can do it well when you have the right images, enough patience, and some editing experience.
The longer answer is more useful.
Photoshop face swaps are not just about copying one face and pasting it onto another photo. To make the result look natural, you usually need to align the face, mask it carefully, blend the colors, soften the edges, and sometimes make extra fixes to lighting, skin tone, and proportions.
That is why this guide does two things:
- It shows you the basic Photoshop process.
- It helps you decide whether Photoshop is actually the right tool for you.
If you already use Photoshop and want full manual control, it is still a solid option. If you are a beginner and just want a fast, natural-looking result, there is usually an easier path.
How to swap faces in Photoshop
Here is the simple version of the workflow.
1. Open both photos in Photoshop
Choose two images where:
- the faces are turned at a similar angle
- the lighting is reasonably similar
- the expressions are not wildly different
- the resolution is high enough to edit cleanly
This matters more than most tutorials admit. Even a good editor will struggle if one face is front-facing and the other is in profile, or if one image is bright daylight and the other is dim indoor light.
2. Move one face into the main image
Place the source face image on top of the target photo as a new layer. At this point, you are not trying to make it look perfect yet. You just want both images in the same document so you can line them up.
3. Align the face
Use Photoshop tools like:
- Move Tool
- Free Transform
- Auto-Align Layers
Resize and position the top face so that the eyes, nose, and mouth sit roughly where they should in the target photo.
This is one of the most important steps. If the facial features do not align well here, everything you do later will feel fake.
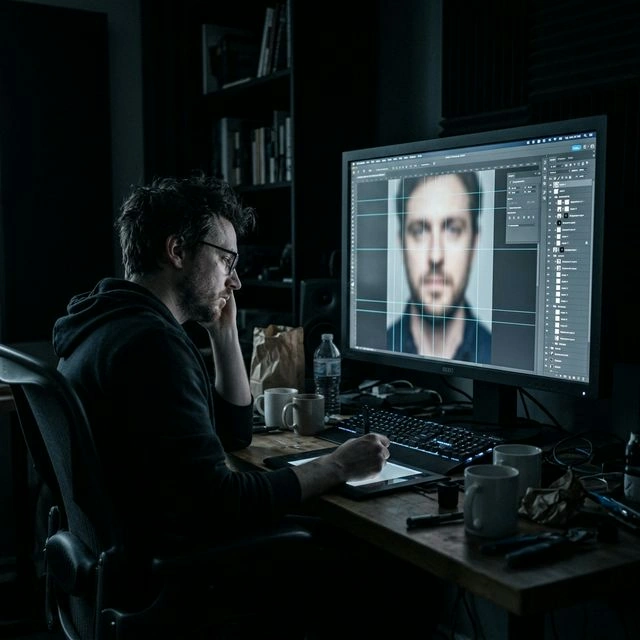
4. Add a layer mask
Instead of erasing parts of the top layer, add a layer mask. This gives you a non-destructive way to hide or reveal parts of the swapped face.
Then use a soft brush on the mask to gradually blend the new face into the original image.
Why masks matter:
- they give you more control than deleting pixels
- they let you refine edges slowly
- they make it easier to fix mistakes
5. Blend the color and edges
Once the face is in place, the next problem is usually not shape. It is realism.
This is where Photoshop users often start adjusting:
- skin tone
- brightness
- contrast
- shadows
- sharpness
- blur
Useful tools here can include:
- Match Color
- Curves
- Hue/Saturation
- Blur Tool
- Auto-Blend Layers
If the pasted face looks too sharp, too flat, too warm, or too bright compared with the original image, the result will still look obviously edited even if the placement is correct.
6. Refine the details
If you want the final result to look polished, you may also need:
- Warp
- Liquify or Face-Aware Liquify
- extra mask cleanup around the jawline and hairline
- small fixes around teeth, eyebrows, or shadows
This is usually the difference between:
"I technically swapped the face"
and
"This actually looks believable."
Why Photoshop face swaps can be harder than they look
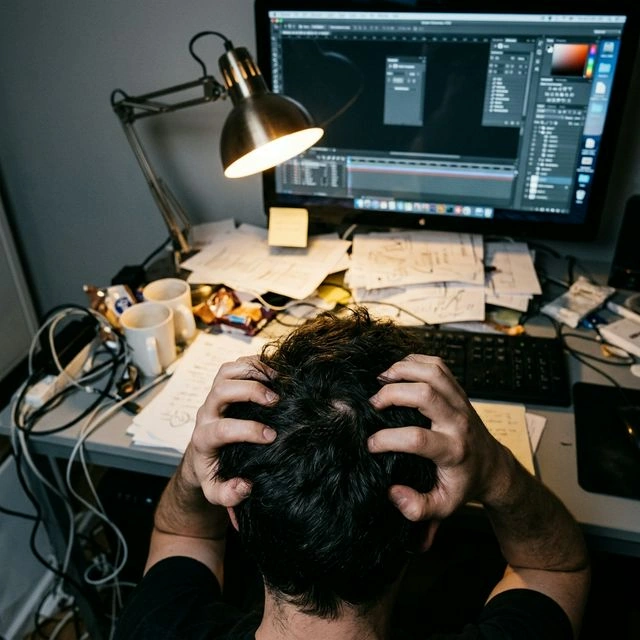
Plenty of tutorials make Photoshop face swaps sound quick and easy. Sometimes they are, but only under the right conditions.
In practice, Photoshop becomes harder when:
- the two faces have different angles
- the lighting does not match
- one person is smiling and the other is not
- one face is partly covered by hair, glasses, or hands
- the image quality is uneven
That is why the real skill is not learning where the buttons are. The real skill is learning how to make the edit look natural.
If you already know Photoshop, that may sound normal. If you are a beginner, it often turns a simple idea into a surprisingly time-consuming project.
What using Photoshop for face swaps really costs
This is the part most quick tutorials skip.
1. You need the software
As of April 2, 2026, Adobe lists:
- Photoshop Single App from US$22.99/month
- Photography plan from US$19.99/month
So Photoshop is not the most convenient option if your goal is simply to test one or two face swaps quickly.
2. You need a desktop setup that can handle it
Adobe's Photoshop technical requirements also point to the usual desktop expectations:
- at least 8 GB RAM, with 16 GB recommended
- GPU support
- meaningful free disk space for install and work files
- internet access for install, activation, and subscription services
That is completely reasonable for many designers. It is less attractive for someone who just wants to replace a face in one photo tonight and move on.
3. You need editing knowledge
To get a good result in Photoshop, it helps to understand:
- layers
- masks
- selections
- transforms
- color correction
- edge blending
- facial proportion fixes
That is a lot to learn if you only came here looking for a fast face swap.
Who Photoshop face swaps are actually best for
Photoshop is still the right choice for some people.
It makes sense if you are:
- already comfortable with Photoshop
- a designer, retoucher, or photographer
- working inside a PSD-based workflow
- trying to control every detail manually
- fixing one high-value image rather than many images fast
In other words, Photoshop is excellent when control matters more than speed.
Who should probably use a simpler option
Photoshop is usually not the best starting point if you are:
- a beginner
- trying face swaps for the first time
- using a basic laptop
- looking for the fastest route to a usable result
- planning to do multiple photos
- hoping to do video face swaps too
That is where a browser-based tool can make more sense.
Why beginners may prefer face-swap.ai

If your goal is not "teach me Photoshop," but rather "help me get a clean face swap with less friction," then face-swap.ai is often the easier place to start.
Here is why.
No download or Photoshop setup
Instead of subscribing to Adobe, installing software, and learning layer masks, you can start in your browser.
That removes four common beginner barriers at once:
- no desktop install
- no Adobe subscription just to try it
- no need to learn Photoshop tools first
- no need for a more serious editing setup
Faster for simple photo swaps
If you just want to swap one face onto one image, a browser workflow is usually easier than:
- opening two files
- stacking layers
- aligning by hand
- masking
- correcting color
Photoshop gives you more control. face-swap.ai gives you a faster path to a usable result.
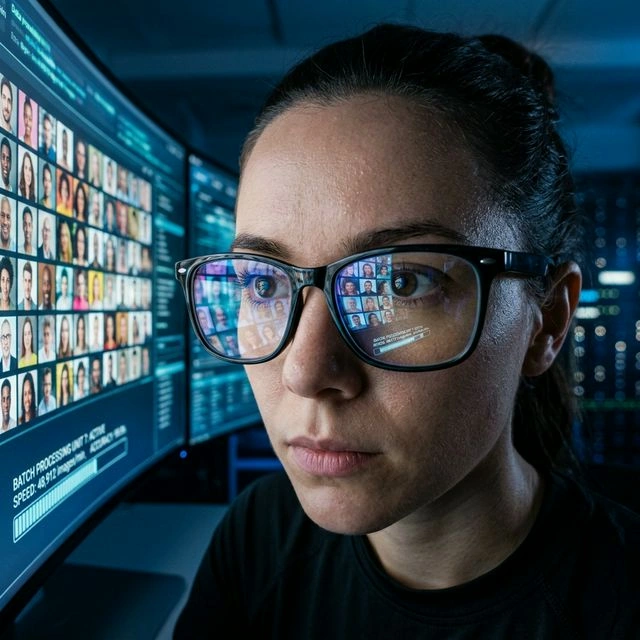
Better fit for batch work
This is where the gap gets much bigger.
If you want to swap faces across multiple images, Photoshop quickly becomes repetitive:
- duplicate the workflow
- realign every image
- repeat mask work
- repeat color correction
face-swap.ai is a much more natural fit if you want to process multiple photos, create variations quickly, or move from one-off edits into a repeat workflow.
It also supports video face swaps
This is a big practical advantage.
Photoshop may answer your image question, but it does not solve the next question many users ask:
What if I want to swap faces in a video too?
With face-swap.ai, you can stay in the same ecosystem for:
- photo face swaps
- batch image workflows
- video face swaps
That is much simpler than learning one tool for photos and then going hunting for a second tool later.
Photoshop vs face-swap.ai
| Category | Photoshop | face-swap.ai |
|---|---|---|
| Setup | Requires Adobe software and desktop workflow | Starts in your browser |
| Cost to begin | Subscription-based | Free to start |
| Learning curve | Medium to high | Low |
| Manual control | Very high | Lower than Photoshop, but easier for beginners |
| One-off edits | Good if you already know Photoshop | Faster for most beginners |
| Batch photo swaps | Repetitive manual work | Much easier fit |
| Video face swaps | Not the natural tool for it | Supported in the same product family |
| Best for | Designers, retouchers, Photoshop users | Beginners, fast results, batch and video workflows |
So, should you use Photoshop for face swaps?
Yes, if:
- you already use Photoshop
- you want fine manual control
- you are editing an important image and do not mind spending time on it
Probably not, if:
- you are new to editing
- you want a fast answer, not a new skill
- you need multiple results
- you want something easier to repeat
That is really the decision.
Photoshop is not bad at face swaps. It is just expensive in more ways than one. You pay in software, setup, learning time, and manual effort.
If that tradeoff is worth it to you, Photoshop still works.
If it is not, face-swap.ai is the simpler place to start.
Final recommendation
If you already know Photoshop and want complete control over every edge, tone, and detail, stick with Photoshop.
But if you are a beginner and your real goal is to get a face swap done quickly, face-swap.ai is the better first step. It lets you swap faces online for free, skip the install process, and move into batch photo or video face swaps without building an entire desktop editing workflow first.
Try Photoshop if you want to learn the craft.
Try face-swap.ai if you want the result.
Get started online
Want a faster option than Photoshop? Start swapping faces in your browser—no Photoshop install required.
If you need more than one edit, use batch face swap for multiple images, or video face swap when you want to go beyond still photos.